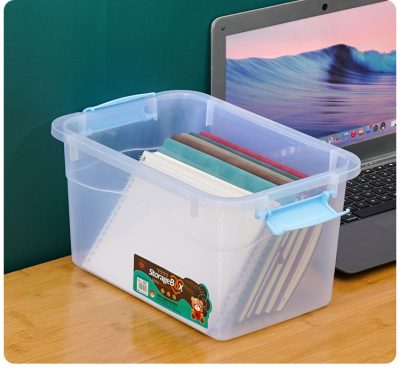
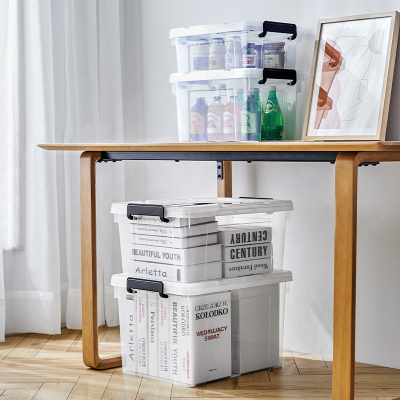
If there are some items that cannot be used temporarily but cannot be thrown away at home, it will make the house look messy and make the owner feel a certain amount of trouble. Therefore, choosing to use storage boxes to manage them is a cleaning method for many families. In fact, the storage box is very simple, and you can make it yourself.
1. Fabric storage box production: first cut off the excess paper on the top of the carton, then choose the fabric you like, make the drawstring with cloth, and cut the drawstring opening of the corresponding size on the carton. Then apply white glue around the carton, and then paste the cloth; continue to apply glue and paste the cloth, pay attention to the cloth paste in the process of paste, and paste each side well, pay special attention to the corners and corners to be firmly attached ,tidy. Then cut the cloth at the opening you just left, and tuck the drawstring into it. Then pull the belt out and fix it with a piece of paper and glue, and a beautiful and practical clothes storage box is completed.
2. Making a carton storage box: Prepare several useless boxes, choose a size you like, and then cut two partitions that are half the length of the box. Wrap the casing and partitions with wrapping paper, and tape the sections together. Cut another 9 small partitions. To make horizontal partitions, wrap the small partitions with wrapping paper; then glue all the small partitions. Note: If you are too troublesome, you can use those small partitions.
3. Making a paper storage box: A4 paper is a very good origami material. First, fold the short side of the A4 paper in half, and the fold line is A. Then fold the edge of the upper paper back, aligning it to the fold line A. Continue to fold back to form 1/8 size. Then fold the lower layer of paper in the same way. When folded, the side looks like an “M”, and the two sharp corners of the “M” are a and b. Fold point b down to the fold line A, which is the fold line B. Then fold line B down to align with A, and press firmly to make the crease clear. Open the upper layer of paper on the left, press point b down to the middle, let it go over line A, until line C stands up. The lower paper on the left is also folded in the same way. Fold point b up to line up with line A, then fold up one more time and tuck in the top layer to tighten. The lower layer of paper on the left is folded in the same way. Repeat the above steps to fold another sheet of A4 paper. Then cross the two bows as shown in the picture and combine them into one.


