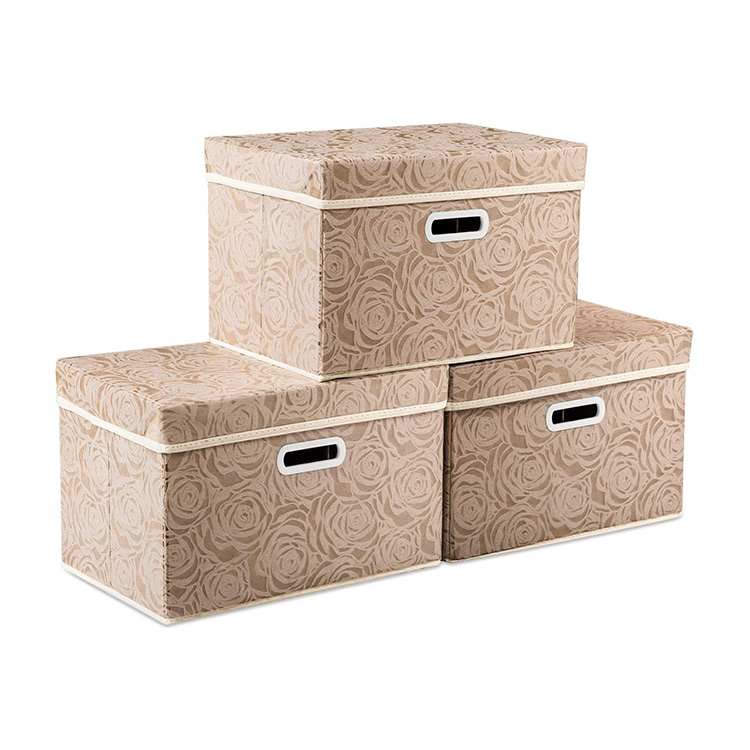
If you enjoy DIY projects and want to add a personal touch to your home organization, making your fabric storage bins can be a fun and rewarding endeavor. In this blog post, we’ll guide you through creating your fabric storage bins.
1. Gather Materials
- To make fabric storage bins, you’ll need fabric of your choice, heavy interfacing or batting, sewing machine or needle and thread, scissors, measuring tape, and a ruler.
- Choose fabrics that match your home decor or add a pop of color.
2. Measure and Cut
- Measure and cut your fabric into two identical pieces for each bin. These pieces will form the sides of your bin.
- Cut a piece of interfacing or batting to the same size for added structure.
3. Sew the Sides
- Place the two fabric pieces right sides together with the interfacing in between. Sew along the sides and bottom, leaving the top open.
- Reinforce the seams for durability.
4. Box the Corners
- To create a box shape, fold the bottom corners in a way that the side seam aligns with the bottom seam. Sew across the corner, about 2-3 inches from the point.
- Trim the excess fabric.
5. Add Handles (Optional)
- If you want handles on your fabric bin, cut two strips of fabric, fold them in half lengthwise, and sew them to the sides of the bin.
- Ensure they are securely attached.
6. Turn Right Side Out
- Turn your fabric bin right side out through the open top. Press the seams for a crisp look.
7. Finishing Touches
- Fold the top edge of your fabric bin down to create a clean finish. Sew around the top edge.
- Your DIY fabric storage bin is ready to use!


